DIY Space Themed Paper Bag Craft
Disclosure: This post may contain affiliate links, meaning if you decide to make a purchase through my links, we may earn a commission at no additional cost to you. Read about our affiliate policies here.
List of Supplies:
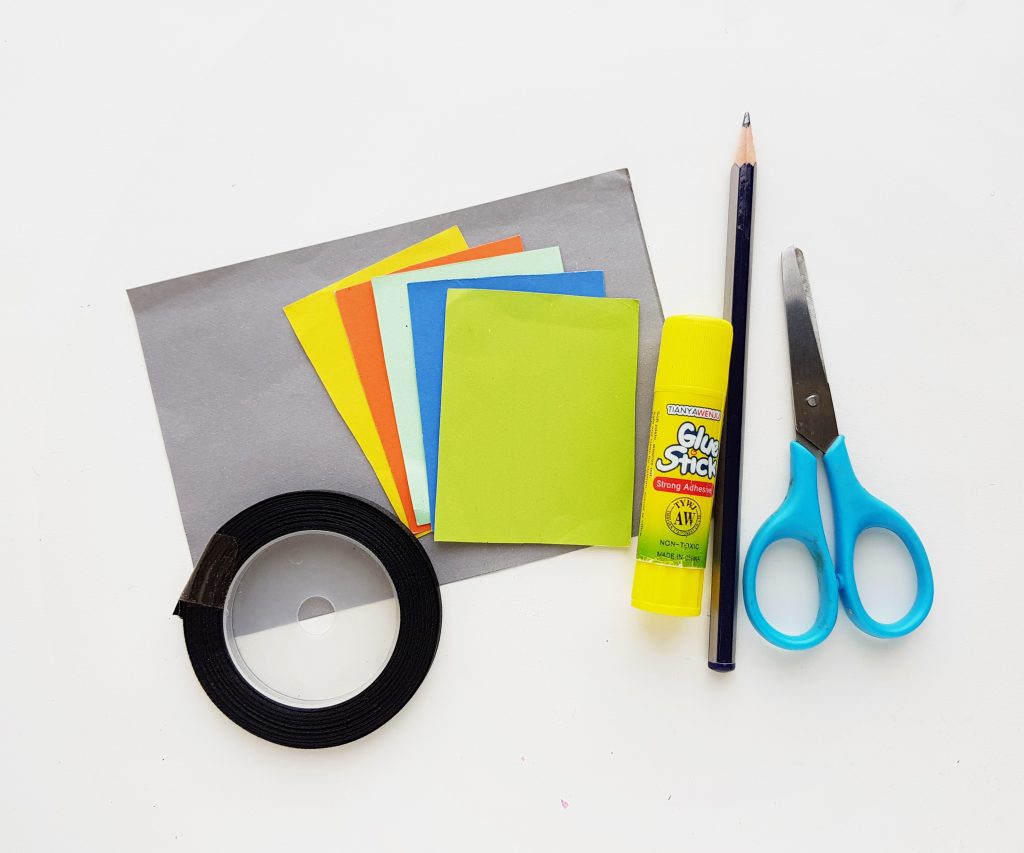
- Colored craft papers ( If you want to be fully hands on with this project, you can make your own paper bag as the directions will show. For younger children, you can always purchase a paper bag and have them put on the space templates).
- Satin ribbon
- Pencil
- Scissors
- Craft glue
- Template
- Printed Directions
Instructions:
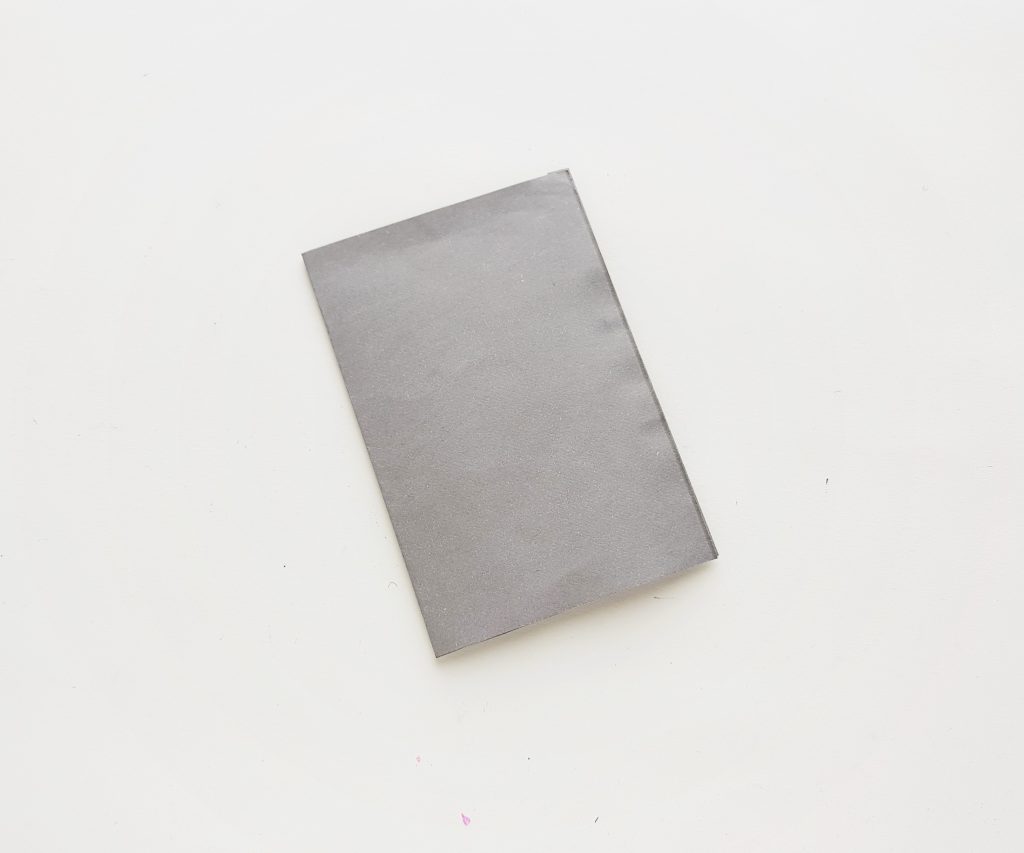
Step -1:
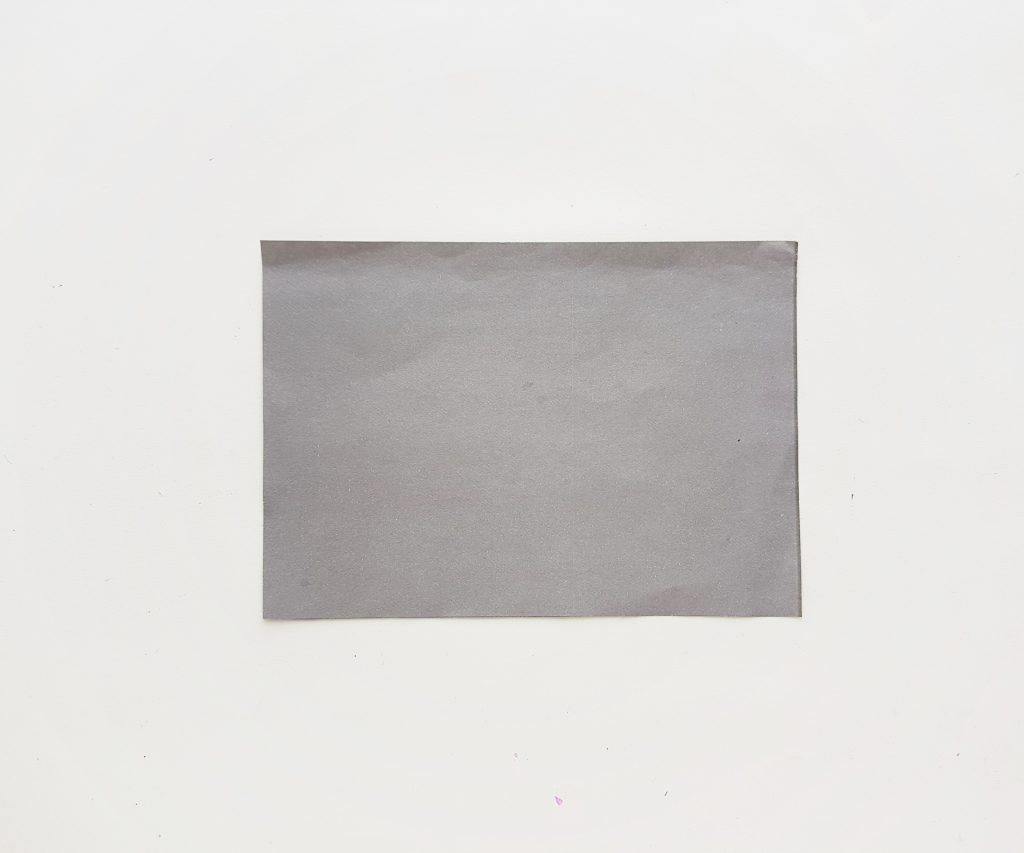
Cut a piece of paper to make the paper bag. I prepared mine into 8.5 inches X 5 inches.
Step -2:
Fold the 8 inches part into half, leaving the 0.5 inch part. Fold the 0.5 inch towards the inside and glue it with the other end of the folded paper.
Step – 3:
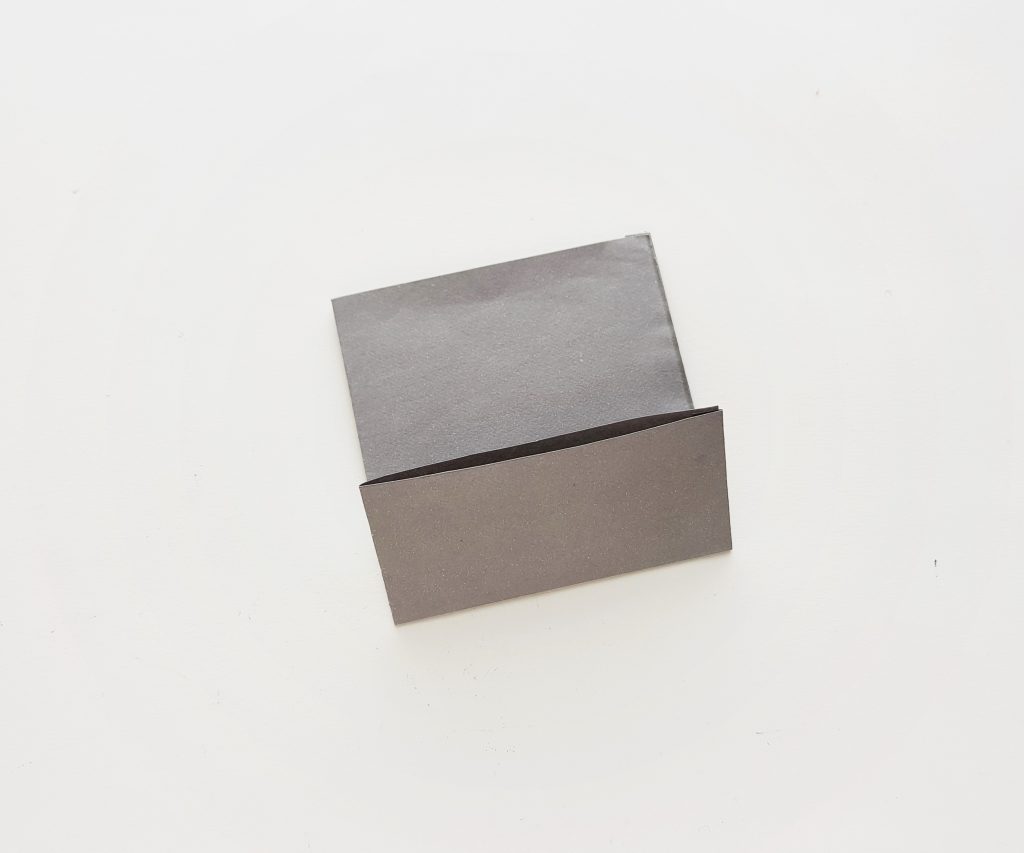
Fold up about 2 inches of the paper from either open ends.
Step – 4:

Open up the folded-up part and flatten its 2 corners with the rest of the paper. This will form 2 flap-like shapes on top and bottom side.
Step – 5:
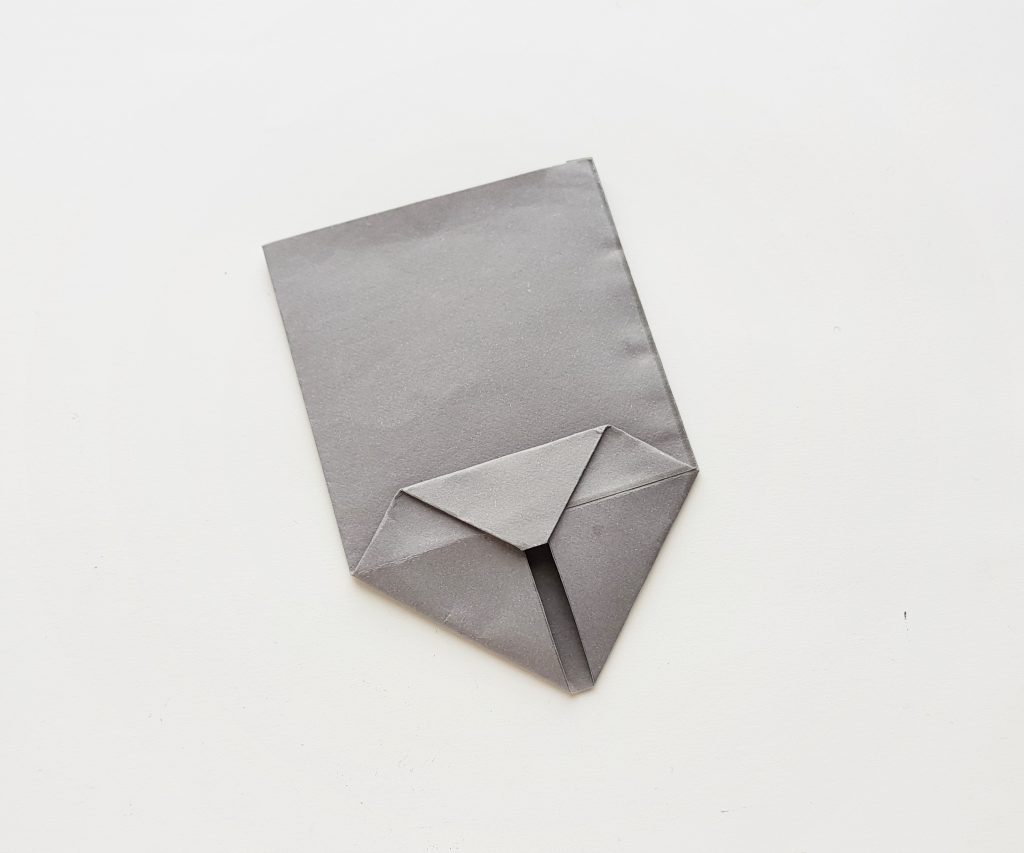
Grab the top flap and fold it towards the middle line (crease) on the bottom side.
Step – 6:
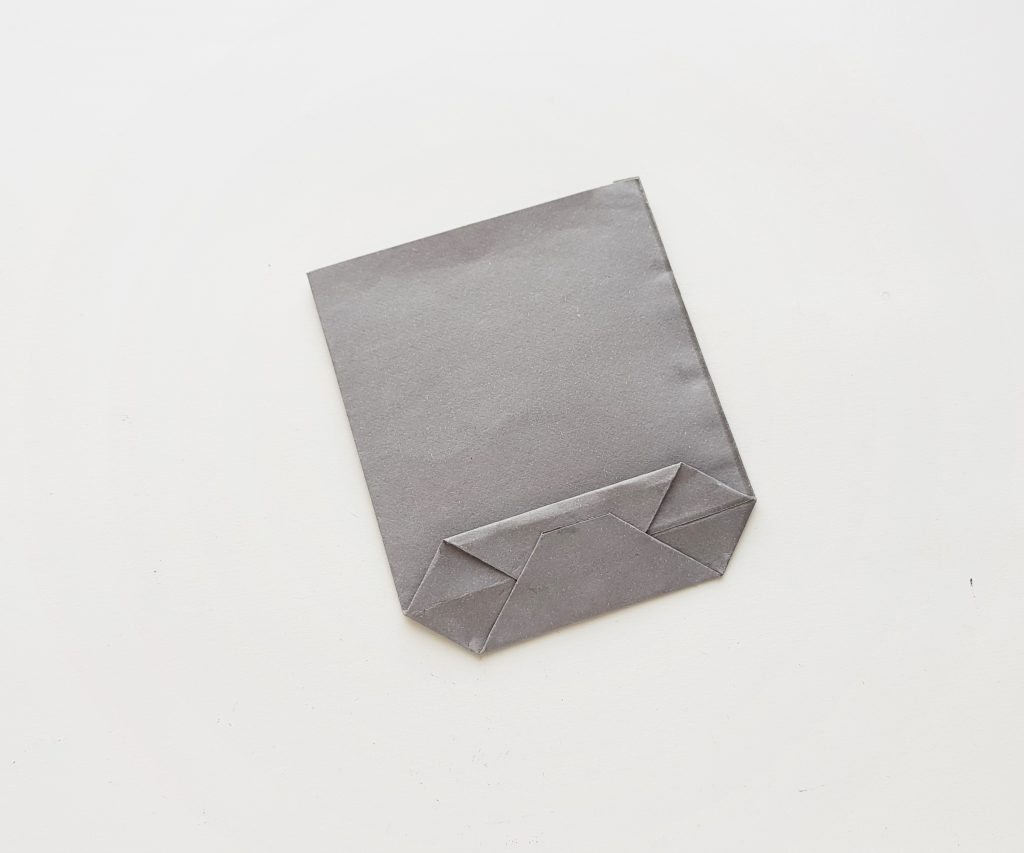
Similarly, fold up the bottom flap and overlap it with the top flap. Apply glue on the overlapped parts to secure the bottom end of the paper bag.
Step – 7:
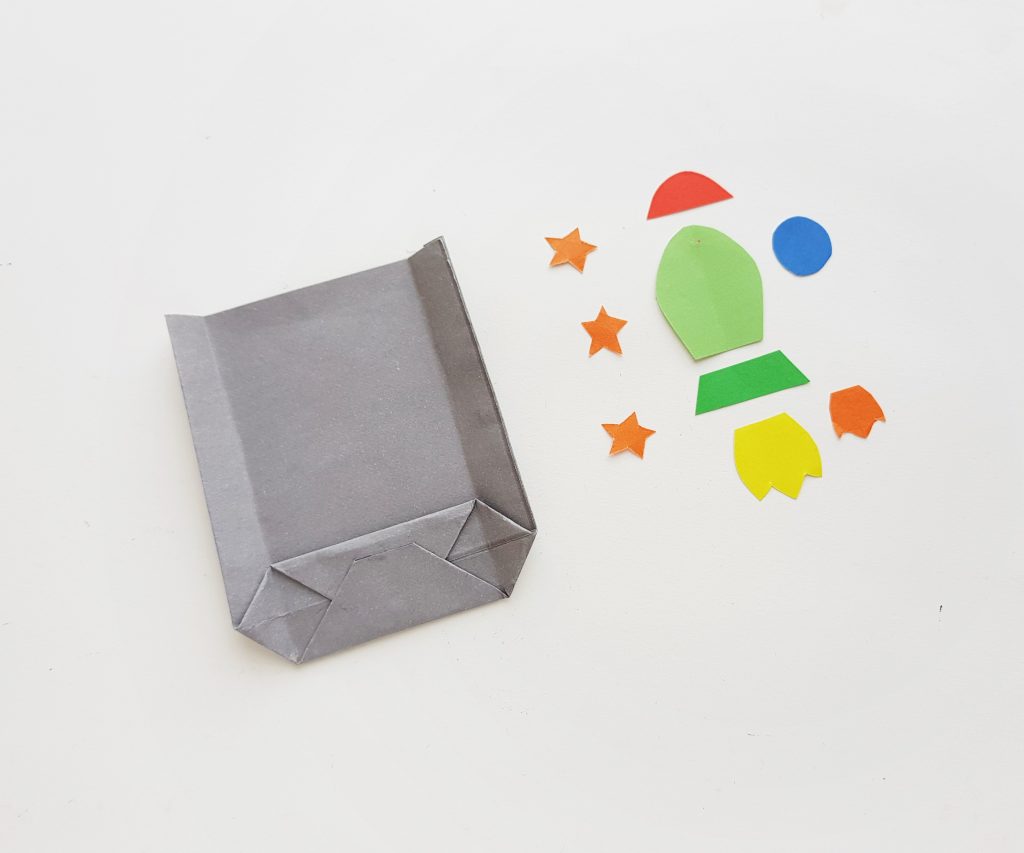
Trace the patterns from the provided template on some colored craft papers. Cut out the traced patterns nicely.
Step – 8:
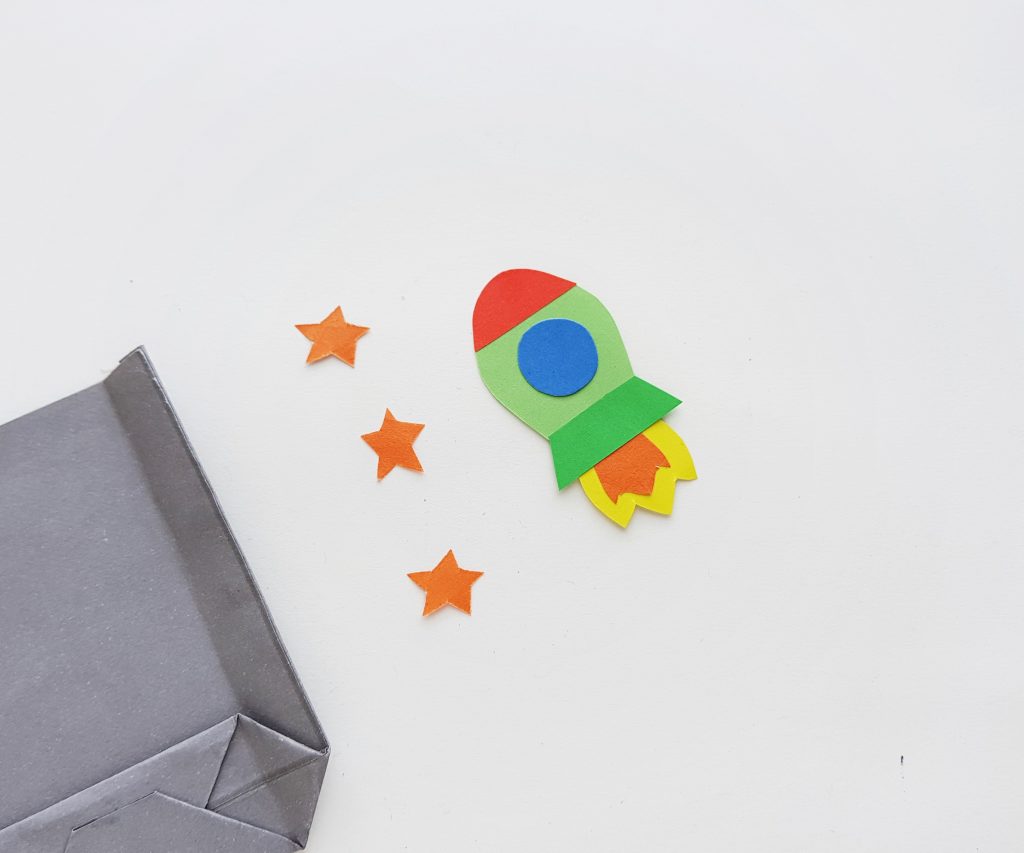
Assemble the patterns to form the rocket (planet, UFO). Apply glue to attach the parts.
Step – 9:
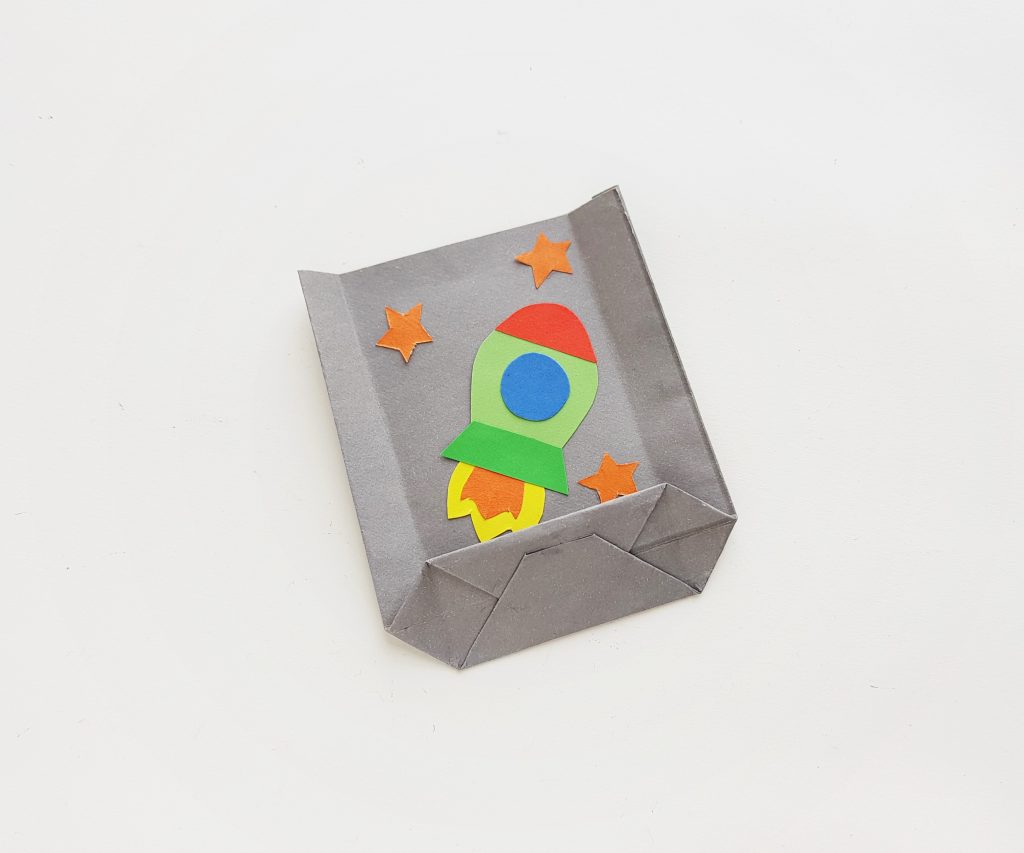
Attach the paper rocket on the paper bag. Stick some star cutouts on the bag as well.
Step – 10:
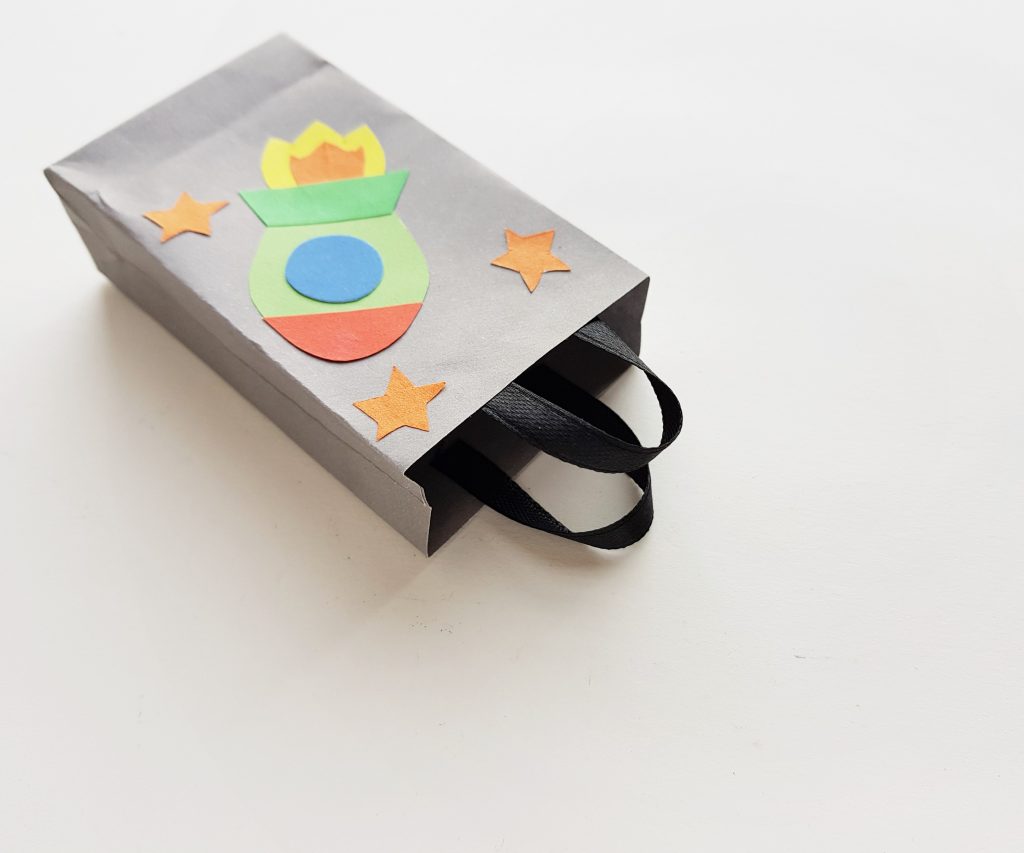
Cut out 2 small pieces of ribbons and attach them on the top open end of the bag for the handles.

Join 10,000+ Subscribers
Join The Milestone Mom Newsletter
Get expert advice from a certified teacher and Pediatric Developmental Therapist directly in your inbox every week!