Origami Paper Tulip Craft

Disclosure: This post may contain affiliate links, meaning if you decide to make a purchase through my links, we may earn a commission at no additional cost to you. Read about our affiliate policies here.
You can really never go wrong with papercrafts. Why? because they’re easy to make and turn out so wonderful! This one is an origami paper tulip craft idea to try with your little one. Now this may be a teeny bit more complex than other simple paper crafts you might have tried but is totally worth your time and effort! Get started on this craft idea whenever you want to with these super simple supplies list.
RELATED: Summer Flower Wreath: Summer Craft Idea for Kids
Supplies

Making Your Origami Paper Tulip Craft
Origami Paper Tulip Craft

With this detailed step by steps instructions to help you create your version of the origami paper tulip, we’ve got you everything you need to get started!
Materials
- Origami Papers
- Pencils
- Ruler
- Scissors
- Paper Glue
Instructions
- First, take a square piece of origami paper.
- Fold it right on the middle horizontally and vertically, then open the folds.
- Place the paper diagonally. Similarly, fold it horizontally and vertically. Then again open up the fold.
- Hold the two points on the right and left side, after that, slightly push the two corners.
- As you slightly push the two corners the paper will fold according to the previous folds and take a triangular shape.
- Place the triangles larger flat side upwards and the centre points downwards.
- Take the triangles one strap from the top left side and bring it downwards to the triangle's point.
- Similarly, fold down the right sides strap. Flip the triangle to the opposite side.
- Fold the straps on this side like previously. It will create a diamond shape.
- Take the left pointed side of the diamond shape and bring it towards the right side then do the same on the other side.
- You’ll get a flat surface on the diamond shape.
- Now take the left pointed strap of the diamond shape and bring it towards the centre of the diamond shape.
- Bring the right strap towards the centre. Make sure to apply glue on one of the straps.
- Open up the middle of the other strap and put the glued strap inside the opened strap and press it. Allow the glue to dry.
- Apply the same method on the opposite side of the piece.
- Blow a little bit air using your mouth on the tiny hole on the bottom of the tulip
- Slightly pull down the petals of the tulip to finish up the tulip.
- Take a green piece of paper (¼ of an A4 sized paper)
- Roll the paper tightly and make a stick. Then, put the stick through the tulips hole.on the bottom and glue it there.
- Glue the leaves on the stick. You’re done!
Finished Product

Loved how the paper tulip turned out? Don’t forget to share it with others too!
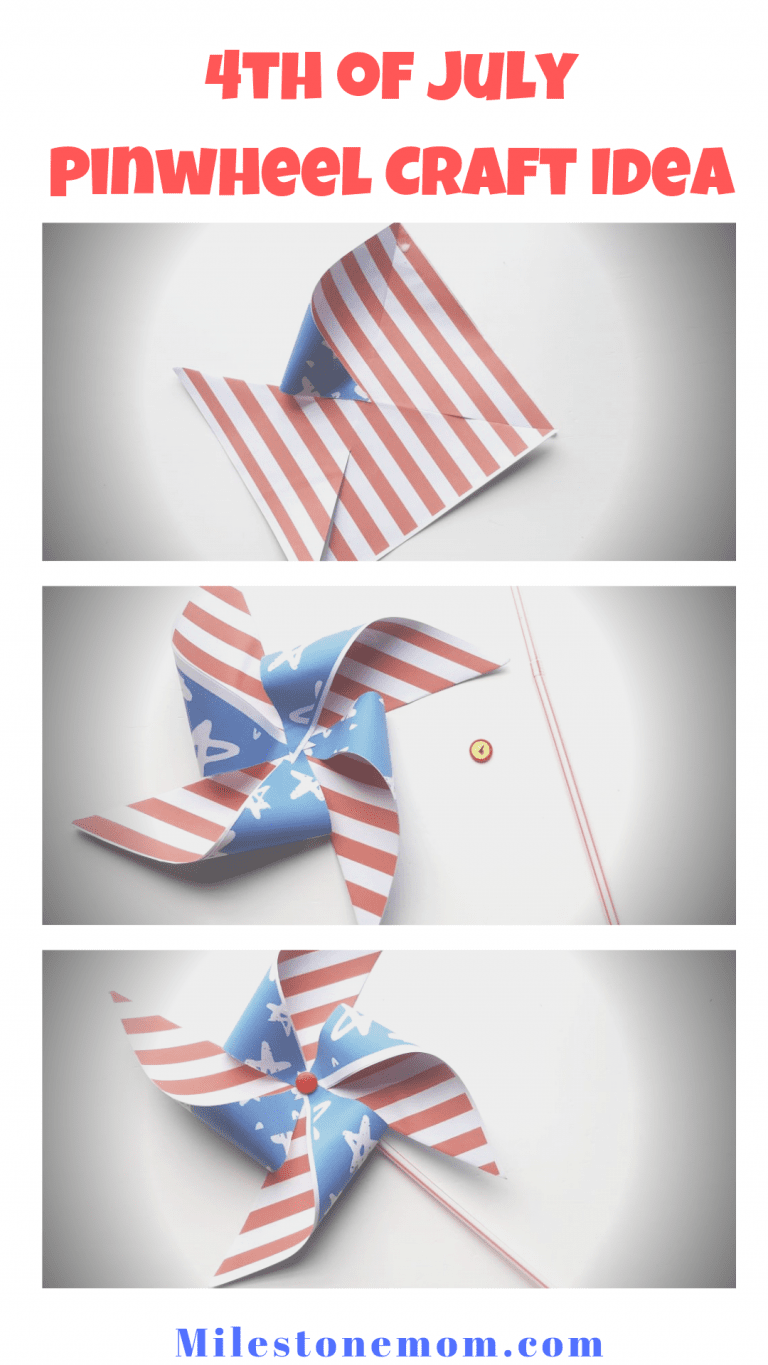
Also, if you’re looking for other cool papercraft ideas to try, this simple 4th of July inspired one is a must-try.

Join 10,000+ Subscribers
Join The Milestone Mom Newsletter
Get expert advice from a certified teacher and Pediatric Developmental Therapist directly in your inbox every week!